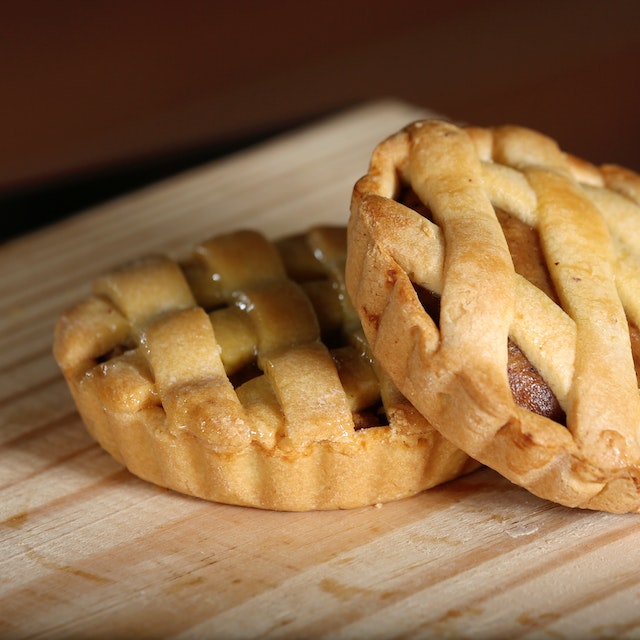
Apple pie is a classic dessert that is loved by many around the world. It’s a perfect way to enjoy apples in a sweet, warm, and comforting way. If you’ve always wanted to make an apple pie but didn’t know where to start, you’re in the right place.
Ingredients
Crust:
- 2 ½ cups all-purpose flour
- 1 teaspoon salt
- 1 cup unsalted butter, cold and cut into small pieces
- ¼ to ½ cup ice water
Filling:
- 6 to 7 cups peeled, cored, and thinly sliced apples (such as Granny Smith or Honeycrisp)
- ¾ cup granulated sugar
- 2 tablespoons all-purpose flour
- 1 teaspoon ground cinnamon
- ¼ teaspoon ground nutmeg
- 1 tablespoon lemon juice
- 1 teaspoon vanilla extract
Topping:
- 1 egg, beaten (for egg wash)
- 1 tablespoon granulated sugar (for sprinkling on top)
Step 1: Gather Ingredients
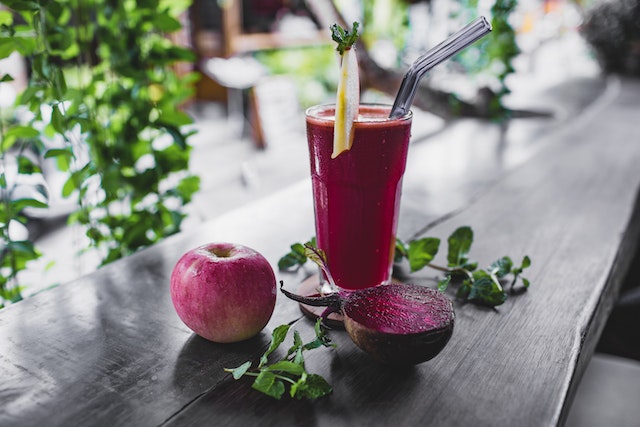
Before you start making your apple pie, make sure you have all the necessary ingredients. You’ll need flour, sugar, salt, butter, cold water, and of course, apples. For the filling, choose apples that are sweet, firm, and crisp such as Granny Smith, Honeycrisp, or Pink Lady.
Step 2: Make the Pie Crust
To make the pie crust, mix flour, sugar, and salt in a bowl. Then, add cold butter and cut it into small pieces. Using a pastry cutter or your hands, blend the butter into the flour mixture until it forms pea-sized crumbs. Add cold water and mix until the dough comes together. Divide the dough in half and form two disks. Wrap them in plastic wrap and refrigerate for at least an hour.
Step 3: Preheat the Oven
Preheat your oven to 375? (190?).
Step 4: Prepare the Filling
Peel, core, and slice the apples thinly. In a separate bowl, mix sugar, cinnamon, nutmeg, and cornstarch. Add the apple slices to the mixture and toss until coated evenly.
Step 5: Roll Out the Dough
Take one of the dough disks out of the refrigerator and roll it out on a floured surface. Roll it to about 12 inches (30 cm) in diameter, making sure it’s even in thickness. Carefully transfer the rolled-out dough to a 9-inch (23 cm) pie dish.
Step 6: Add the Filling
Pour the apple filling onto the dough in the pie dish. Dot the filling with small pieces of butter.
Step 7: Add the Top Crust
Take the other dough disk out of the refrigerator and roll it out on a floured surface to the same size as the bottom crust. Carefully place it on top of the filling. Trim the excess dough and crimp the edges together with a fork or your fingers.
Step 8: Make Vents
Cut several small slits on the top crust to allow steam to escape during baking. You can make decorative patterns or simple holes.
Step 9: Brush with Egg Wash
Brush the top crust with a mixture of beaten egg and a tablespoon of water. This will give the pie a nice golden color and shine.
Step 10: Bake the Pie
Bake the pie in the preheated oven for 45-50 minutes, or until the crust is golden brown and the filling is bubbling. Let the pie cool for at least 30 minutes before serving.
Conclusion:
Making apple pie from scratch is easy and fun. By following these 10 simple steps, you can create a delicious dessert that your family and friends will love. Remember to use fresh and high-quality ingredients and take your time to make the perfect pie crust. With a little practice, you’ll be able to make the best apple pie ever!
FAQ
Q: What type of apples are best for apple pie?
A: Apples that are sweet, firm, and crisp such as Granny Smith, Honeycrisp, or Pink Lady are great choices.
Q: Can I use pre-made pie crust for my apple pie?
A: Yes, you can use pre-made pie crust if you’re short on time or prefer not to make it from scratch.
Q: How do I keep my apple pie from becoming too watery?
A: You can add a thickener such as cornstarch to the filling to prevent it from becoming too watery during baking.
Q: How do I prevent the crust from burning?
A: Cover the crust with aluminum foil or a pie crust shield during the last 15-20 minutes of baking to prevent it from burning.
Q: Can I freeze my apple pie?
A: Yes, you can freeze your apple pie before or after baking. Just make sure to wrap it tightly in plastic wrap or foil and label it with the date.

