Because most current PCs lack a CD or DVD drive, installing Windows 10 from a disc isn’t always possible. The good news is that you no longer need CDs; all you need is a USB drive.
This article will walk you through the process of installing Windows 10 using a USB flash drive. To facilitate installation, the article is separated into the following sections.
- Requirements
- Making a Bootable USB for Windows 10
- Installing Windows from a Bootable USB
What You’ll Require
To get began, you’ll need a few items. First, you’ll need a USB device with at least 8GB of storage capacity. If you don’t already have one, you can get a quality USB drive for a reasonable price online. If you already have a USB drive, be sure there are no vital data on it because it will be wiped clean throughout the setup procedure.
Create a Windows 10 bootable USB
To build the USB drive, you’ll need a Windows PC. When you’re finished, remove the USB drive from that computer and insert it into the machine on which you wish to install Windows 10.
Before you can install Windows from a USB, you must first build the installation media. This will be read by your computer after you attach the USB flash drive, allowing it to boot from USB. The procedures for creating this bootable USB flash drive using Microsoft’s Media Creation Tool are shown below.
Download the following Microsoft installation media:
Install Windows 10
Obtain the Windows 8.1 Disc Image (ISO File)
Obtain Windows 7 Disc Images (ISO Files)
1. Follow the instructions to download the desired Windows version. Some versions may require you to provide your Windows product key to get disc images.
2. Download and save the Media Creation Tool to your PC. When the download is complete, run the program and accept the software licensing terms by clicking Accept when asked.
3. Click the Next button after selecting Create installation media (USB flash drive, DVD, or ISO file) for another PC.
4. Set your desired language, Windows edition, and System Architecture by following any on-screen directions. If in doubt, consult the Proceed with the suggested selections for this PC option.
5. Select the USB flash drive and then your USB from the list. Windows installation files will begin downloading to your USB device.
6. Please keep in mind that depending on your internet connection, the download may take some time.
Installing Windows from a Bootable USB
After creating the Bootable USB, connect the USB flash drive to the machine on which you wish to install Windows 10 and adjust the boot order.
READ MORE: Deactivate Your Instagram Account Temporarily
Gaining access to a computer’s BIOS allows you to change the boot sequence. The procedures for accessing the BIOS vary depending on the PC manufacturer. If you don’t know how to access your computer’s BIOS, go to the manufacturer’s website for instructions and assistance.
1. When you change the boot order in BIOS, there will be a request to press a key to boot from the USB.
2. Following that, next will be Windows 10 installation phase, where there will be an invitation to select your desired language, time zone, currency, and keyboard options. Select them and then click Next.
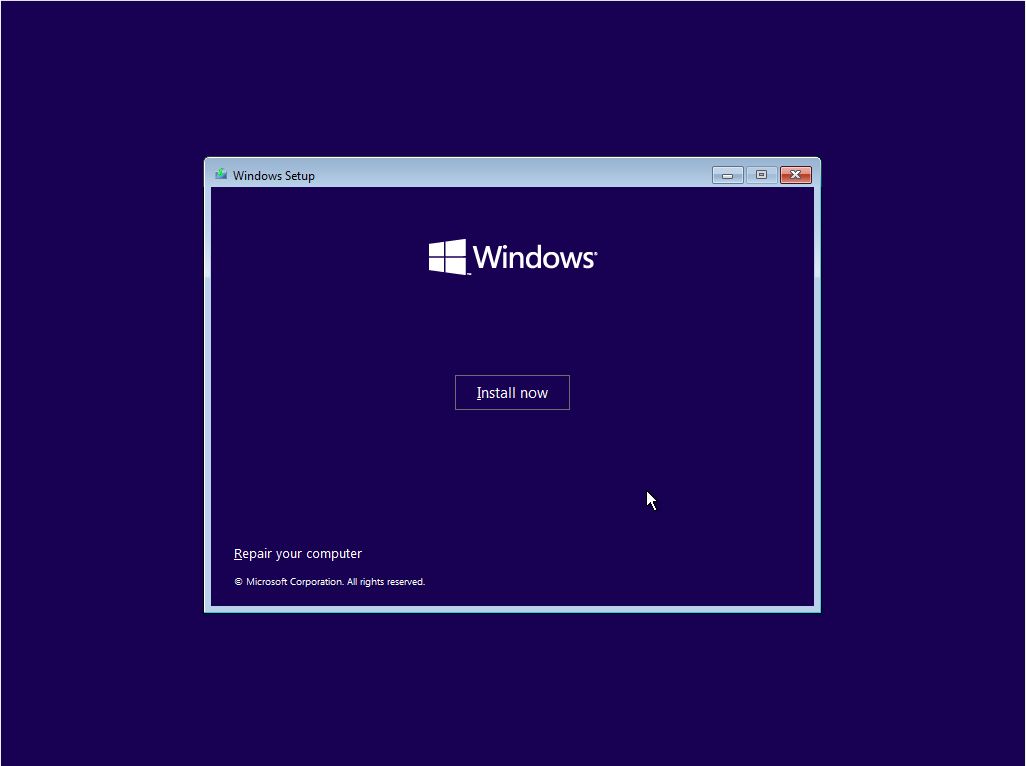
3. Select the Install Now option.
4. In a few seconds, there will be a request to enter your Windows 10 product key to activate it. Enter the product key if you have it available; otherwise, click I don’t have a product key to activate Windows 10 later using the product key.
5. Following that, you can choose the Windows 10 edition you want to install.
6. After selecting the Windows 10 edition, click Next to accept the licensing terms.
7. Read and double-check I agree to the licensing conditions.
8. Select Custom as the installation type. The custom option installs Windows 10 on your PC from scratch.
9. You must now provide hard disc space for Windows 10. Windows will identify available hard discs for installation and prompt you to choose one. Select one by clicking the new button.
10. Enter the partition size in MB and click Apply.
Establishment of Windows
1. Windows will establish two partitions for you; one is allocated for the system by default, and the other may be used to install Windows 10 files.
2. Select the Second partition and press the Next button. Windows installation will begin, and progress will be displayed in percentages.
3. The procedure may take a few minutes, and your system will automatically restart.
4. After that, you’ll be led to a screen where you may choose your region. Select your area and press the Yes button.
5. Windows will prompt you to sign in using a valid email address, Skype account, or cell phone number.
6. Sign in with your Microsoft account credentials if you already have one; otherwise, click Create account.
7. Follow the onscreen prompts to create an account, a PIN, and other options.
8. You will get a notice when you have set up your account. This might take some time. You are under no obligation to do anything else.
READ MORE: How Do You Delete Your TikTok Account?

